FO: Cool beans

As previously mentioned, I am "participating" in Sock Madness IV (if by participating, you mean lurking on the forums, oooing and aaahing over everyone's socks and occasionally knitting one of the patterns). While the true contestents are now at the beginning of Sock #4 (ribbed and cabled knee highs!), I've finally finished Sock #2.

Cool beans

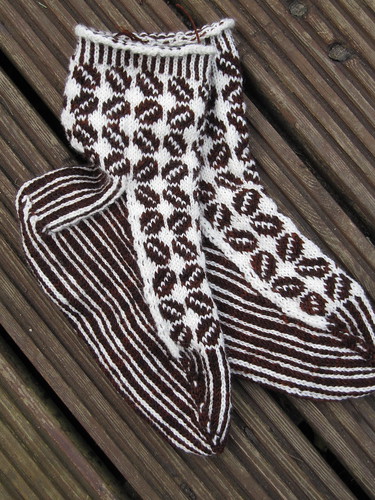
Pattern: Cool Beans by Heatherly Walker, Round 2 of Sock Madness IV
Yarn: Knit Picks Essential in Bare and Pumpkin (overdyed brown), approximately one 50 gr ball of each
Needles: US 2/2.75 mm and US 1/2.25 mm
Start/finish: 29 March - 27 April 2010 (clearly I will not be making it to the later rounds of the next Sock Madness, so I'd better submit another sock design so I can get all the patterns!)
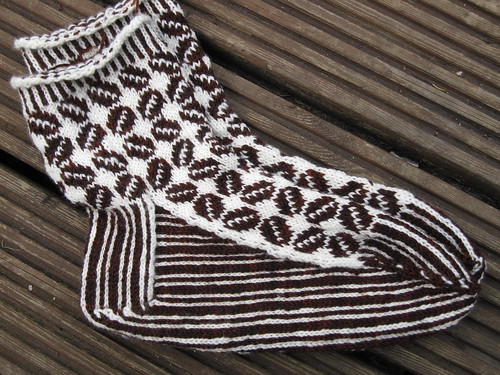
Comments/mods: This was a really fun, and surprisingly quick pattern to knit. For the first sock, I only did four beans on the leg instead of the required six beans - I was a bit worried about having enough yarn to finish both. I also got completely confused by the directions for the colors on the heel turn, so I just kept the stripes in pattern (which ended up being the right thing to do). The first sock used 21 gr of each color.

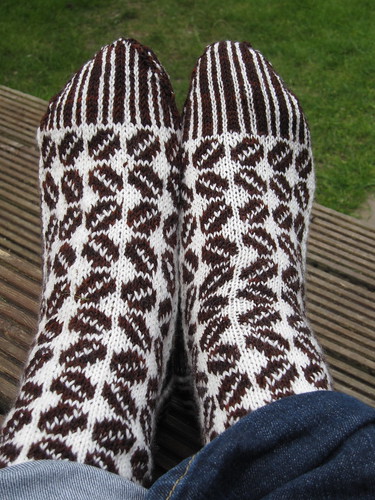
For sock 2, I decided that, while sock #1 fit me just fine, I wasn't very happy with the fabric. It seemed too loose to wear well, so I went down one whole needle size for the second sock, and used US 1/2.25 mm needles. Same number of beans and everything, and I liked the fabric much better, but the second sock was a bit small for my gargantuan tootsies.


Cool beans
You can see the stitches straining on the right sock - poor things!

Cool beans

So my dilemma is this: at least one sock will have to be frogged and reknit, so do I a) frog the big one, knit it again on US 1 needles, and hope I can find some coffee lover with feet the right size or 2) frog them both, and use US 1.5/2.5 mm needles in the hopes that I'll get a sock that is just right for meeeeee! I do love the coffee, but I know a number of smaller footed coffee lovers as well. Hmmmm...I might even be able to knit the correct number of beans on the leg if I do the smaller size.

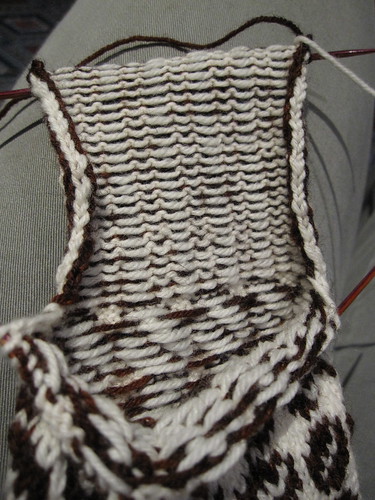
Decisions, decisions. In the meantime, I'll leave you with the wrong side of a heel flap to look at.

Cool beans

Looks kind of cool, doesn't it?
Fiber Friday with Small Girls

In my frenzy of stash organizing and decluttering I came across quite a lot of undyed fiber in a box. A couple pounds of Falkland, some merino/tussah silk, a pound and a half of Targhee. There was also a pound of domestic wool that I received when I bought my wheel way back when. It occurred to me that the girls might enjoy dyeing fiber for their own sweaters for next winter. The fact that the activity might eat up an afternoon was also quite popular with the holiday-parental unit.

I pulled out my sample cards and showed them which colors I had. They each picked four (both, strangely enough, went for fuschia) and I sent them off to watch Tom and Jerry while I made up stock solutions. And then the fun began.

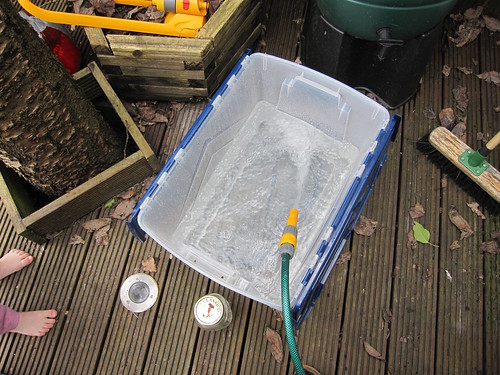
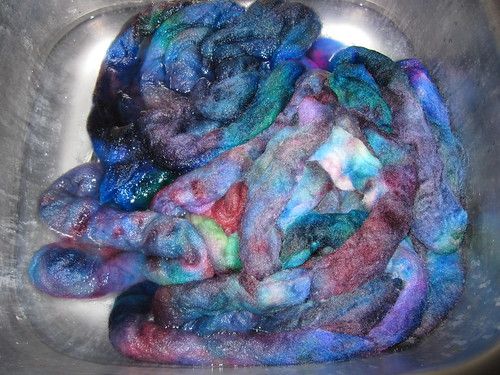
We started off by soaking the fiber in a big plastic tub - I added some citric acid to the soaking water to be sure that the dyes would strike - and once the fiber was wet, the painting started.

Soaking tub

The girls had to be convinced to part with their top.

Wool love

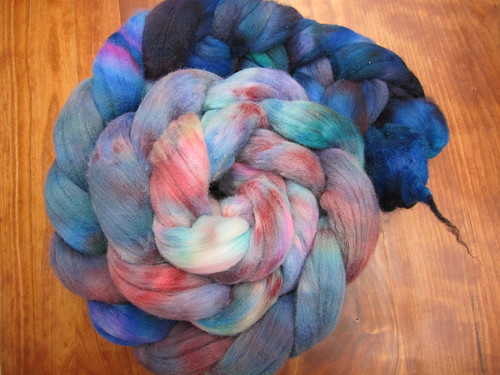
Devil did hers in the crockpot with brilliant blue, fuschia, turquoise and scarlet Jacquard Acid dyes.

Devil's dyeing

We cooked it on high for about an hour and a half. I was kind of worried that there wasn't enough liquid in the pot, so I added about half a cup of water. The end result was that the bottom layers of the top ended up much darker then the top layer or two.

Devil's dyeing

I'm not sure how it will spin up, and she's not all that thrilled with it at the moment, but we'll see how she feels once it's yarn.

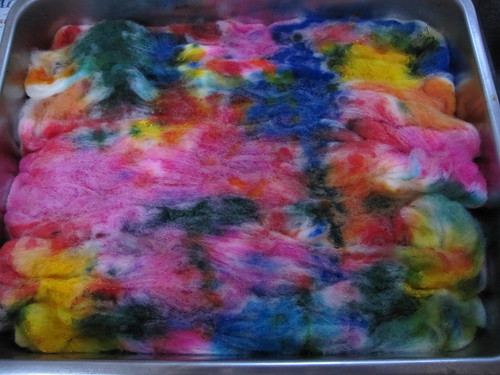
Boo chose yellow, orange, green and pink. And then used all the colors I'd made up instead. Her top was done in the oven in a roasting pan, and the colors that came out were, um, a bit bright.

Boo's dyeing

Thirty minutes in the oven at 190, the kitchen smelled like wet sheep, and we had this:

Boo's dyeing

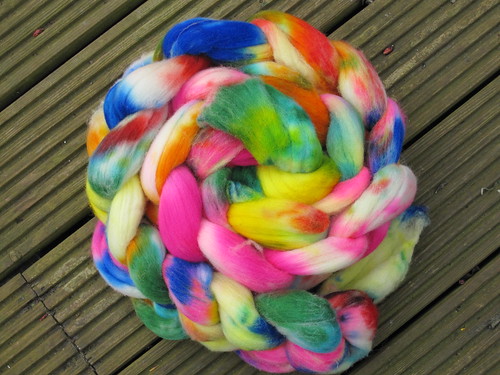
Boo is pretty thrilled with this, when I can get her to stand still long enough to venture an opinion. We'll see how the yarn ends up, but I suspect it will be quite cheerful (if nothing else!).

The final results:

IMG_1500

Boo's fiber

This dyeing session and my recent organizing made me appreciate even more the talents of the dyers I get fiber from. I put all of my Hello Yarn Fiber Club unspun tops together. There's quite a bit...

Remaining Hello Yarn Fiber Club stash

That's something like 5 or 6 pounds of fiber. And if I get really brave, I might even be able to combine some of those colorways to get some interesting yarns for larger garments.

Natural dyeing

This past weekend, I had the opportunity to do a natural dyeing workshop at Stash, run by John from The Mulberry Dyer. I was excited to do some natural dyeing, but also somewhat confused as how that was going to happen in a three hour period. Well, I tell you how it happened:

Natural dyeing workshop

Extraction dyes. Apparently some clever folks have managed to isolated the dye chemicals from lots of different plants and are selling them as extracts. The benefits include less time investment and much more reproducible colors. John brought along some samples for us to play with. There was cotton,

Natural dyeing workshop

Natural dyeing workshop

Wensleydale yarn,

Natural dyeing workshop

and some silk ribbon that I didn't get pictures of. All the samples were pre-mordanted with alum, so we got straight to work with the dyes. Painted them on, wrapped everything up in cling film and microwaved for 90 seconds. That was it.

Now, given that all my former reading on natural dyeing had involved several days worth of work, this was a lovely surprise. Another fun surprise was the change in the colors pre- and post-microwave.

Natural dyeing workshop

Natural dyeing workshop

Natural dyeing workshop
I didn't get a shot of this one pre-microwave

Final natural dyeing

John was full of information and historical lore. The Mulberry Dyer does commisions, sells some gorgeous yarns, and also sells the extract dyes and mordants, if anyone is intrigued enough to try them out. Best of all, they will soon be running dyeing workshops in Northern France - I see a family field trip coming on!

I love mittens

At least mittens for little people.

Nemo palm

Nemo back
Look at the little fin - so cute!


Pattern: Nemo Mittens by Sigurlaug Eva Stefansdottir (both Ravelry links)
Yarn: KnitPicks Essential, dyed by yours truly. I used 4 gr white, 3 gr black, and ~10 gr orange (works out to approximately 19/14/46 yds respectively of fingering weight yarn)
Needles: US 1/2.00 mm
Gauge: 8 sts/11 rows per inch
Finished circumference/length: 5 inches/5.25 inches (cuff to pointy tip)
Comments/mods: The "only" modification I made was to switch yarn and needle size. The pattern calls for sport weight/size 2.5 (3.0 mm) needles for a 4-6 year old size, but I had fingering weight, so size 1 it was. I probably could have gotten away with US 2/2.75 mm ok, but this gauge will be a bit warmer perhaps.

These were so fast! Done, with fins added and ends woven in after three evenings work. Love it. I hope Boo loves them as well, although I'm not sure what she thinks about mittens...

The yarn for these was recycled from some KnitPicks Essential that I dyed for some socks for my sister-in-law about three years ago. It was my first dyeing experience, so I used Kool Aid and ended up with a range of reds, pink, and purple. I took the largest ball of leftovers (41 g of red) and overdyed it with some yellow Jacquard Acid dye in the hopes that it would end up kind of orange. Some pink (5 g) got overdyed with black. I also had a full skein of Bare waiting around, so I knew I could dye more if needed.

Nemo dyeing

Nemo dyeing

Soaked the yarn, and then put both into my handy dandy crock pot for the dyeing.

The pink to black went into a glass jar in the middle while the red to orange was carefully arranged around the outside.

Nemo dyeing

A few hours later, they were all done. The pink-to-black transition went very well, but the red-to-orange still looked really red. I rinsed them out and discovered that the red was bleeding. Quite a bit in fact. Bleeding enough that I got a bit concerned about what Walrus' socks had done to the rest of her laundry (sorry B!). But...I rinsed until I got sick and tired of rinsing, and then hung it up to dry.

I was concerned that it was going to end up too red, but I think it's alright. The mittens are awfully cute though. So cute that I think Boo will need a matching Nemo hat...

A leap of faith

I am far from the first, or one hundred and first, or even possibly the one hundred thousand and first knitter to have ever made this observation, but Elizabeth Zimmerman was some kind of genius. How else can you explain how something that looks like this,


BSJ in progress

becomes this adorable little number.


BSJ almost finished

Pattern: Baby Surprise Jacket by Elizabeth Zimmerman, Knitting Workshop version
Yarn: Knit Picks Swish Superwash in Natural (dyed yellow, orange and green) and coral (overdyed red). I'm not sure of the exact yardage, but probably somewhere around 350 yds.
Needles: US 7/4.5 mm
Comments: I intended this for approximately a 6 month size, so I used worsted weight yarn. Loved the construction and the knitting - mindless garter stitch and spinning are just about the only things my brain can tolerate these days, so this was perfect for the evenings. Total knitting time was approximately a week.


BSJ

Buttons are small wood ones from my stash.


BSJ detail

I ran out of the requested colorway, and had to dye another skein to finish it off, but I think the red fits pretty well with the handpainted stuff. I was worried I was going to get pooling, but somehow I managed to avoid the worst of that.


BSJ

I love the miters and how they look with this yarn. Very cool.


BSJ detail

So when I blocked this thing, it grew. Quite a bit. Now it looks more like a one year old size. But so be it - the niece will live in Boston, so hopefully she'll get some use out of it next winter and spring.